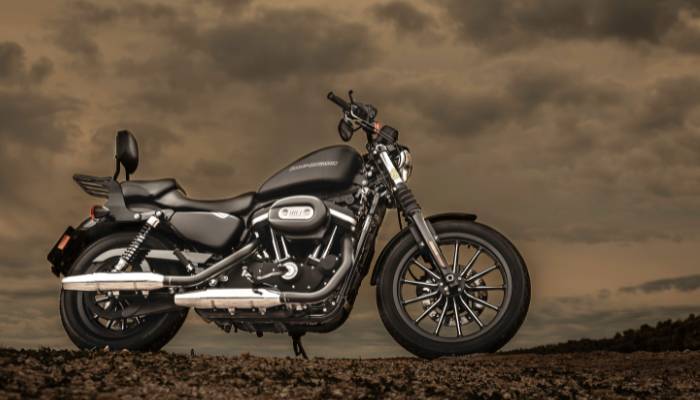
Preparing your bike for stickers is an important step in ensuring that your new decals will look great and last a long time. With the right preparation, you can ensure that your bike’s new stickers will be a beautiful and durable addition to your ride.

Clean the surface
The first step in preparing your bike for stickers is to clean the surface of the bike where the stickers will be applied. You’ll want to remove any dirt, grime, or oils from the surface before you apply the stickers. The best way to do this is to use a mild soap and water.
Simply mix a small amount of mild soap with water in a bucket, and use a soft cloth or sponge to gently clean the surface of your bike. Make sure to pay special attention to the areas where the stickers will be applied, as these areas will need to be as clean as possible.
Degrease surface
Once you’ve cleaned the surface of your bike, it’s time to use a degreaser. A degreaser is a chemical solution that helps remove any remaining oils or residue from the surface of your bike. This step is important because oils and residue can prevent the stickers from adhering properly.
You can purchase a degreaser specifically designed for use on bikes, or you can use a household degreaser like Simple Green. Be sure to follow the manufacturer’s instructions when using a degreaser, and make sure to rinse the surface thoroughly with water once you’ve finished.
Roughen the surface
After you’ve cleaned and degreased the surface of your bike, you’ll want to use a mild abrasive to rough up the surface slightly. This step is important because it will help the stickers adhere better.
A mild abrasive like rubbing alcohol or a fine sandpaper can be used to roughen the surface. Be sure to use a light touch and only rough up the surface enough to create a slightly textured surface.
Wipe surface with clean dry cloth
Once you’ve completed the above steps, make sure the surface is completely dry and free of any dust or debris before applying the stickers. This can be done by using a clean, dry cloth or compressed air.
Stick Carefully
Finally, when you’re ready to apply the stickers, make sure to do so carefully. Take your time and make sure that the stickers are applied evenly and without any bubbles or wrinkles.
If you find that you’ve made a mistake, you can gently remove the sticker and reposition it.
Advantages of using stickers
Using sticker and decal is a nice way to make your bike/car cool and trendy. It has many advantage like –
- Personalization: Custom stickers allow you to personalize your bike and make it truly unique.
- Protection: Many custom stickers are made from durable materials that can help to shield your bike from the elements and everyday wear and tear.
- Branding: If you’re a cyclist or a bike enthusiast, custom stickers can be a great way to showcase your passion for the sport and promote your favorite brands.
- Advertising: If you’re a business owner, you can use custom stickers to promote your company and increase brand awareness.
- Cost-effective: They’re relatively inexpensive compared to other customization options, such as custom paint jobs, and can be easily removed or replaced if you ever decide to change the look of your bike.
Conclusion
In summary, preparing your bike for stickers is an important step in ensuring that your new decals will look great and last a long time.
By cleaning the surface of the bike, using a degreaser, roughing up the surface slightly, and making sure the surface is completely dry and free of any dust or debris before applying the stickers, you can ensure that your bike’s new stickers will be a beautiful and durable addition to your ride.

